

Key Takeaways
Understanding the size of the job
Drywall damage falls into three practical categories, and each one calls for a different approach. Getting this right upfront saves a wasted trip to the hardware store.
- Nail holes and small dents (under 1/2 inch): A single application of lightweight spackle, dried and sanded, is all you need.
- Quarter-sized to palm-sized holes (1/2 inch to about 4 inches): A self-adhesive mesh patch backed with joint compound handles this range well.
- Larger holes (4 inches and up): You need a backer board or a cut-in drywall piece to bridge the gap before applying compound.
Before grabbing any tools, check whether the damaged area is near electrical wiring or plumbing. If there is any doubt, do not start cutting. The most common DIY mistakes trace back to skipped checks at this stage, not bad execution later.
What you will need
What you will need
Gather everything before starting. Running to a store mid-project while wet compound dries on your wall wastes time and produces uneven results.
Lightweight spackle or joint compound
Fills the hole or damaged area and forms the base for a smooth, paintable surface.
Self-adhesive mesh patch (for holes 1/2 inch to 4 inches)
Spans the hole and gives the joint compound something solid to grip.
Putty knife or drywall knife (4-inch and 6-inch)
Applies and feathers joint compound across the repair area.
Sandpaper (120-grit and 220-grit)
Smooths dried compound between coats and before priming.
Drywall primer
Seals the porous compound so topcoat paint absorbs evenly and does not flash.
Dust mask and safety glasses
Protects you from fine drywall dust during sanding.
Backer board or furring strip (for holes larger than 4 inches)
Provides structural support behind a large hole so the patch does not flex or crack.
Step-by-step patching process
Work through these steps in order. Rushing the drying time between coats is the single most common cause of a patch that looks fine at first but shows through the paint within a week.
Prepare the damaged area
Remove any loose paper, crumbled gypsum, or jagged edges around the hole. For small holes, a putty knife is enough. For larger holes, use a utility knife to cut back to clean, solid drywall on all sides. A square or rectangular cut is easier to patch than an irregular shape.
Apply the patch or backing (if needed)
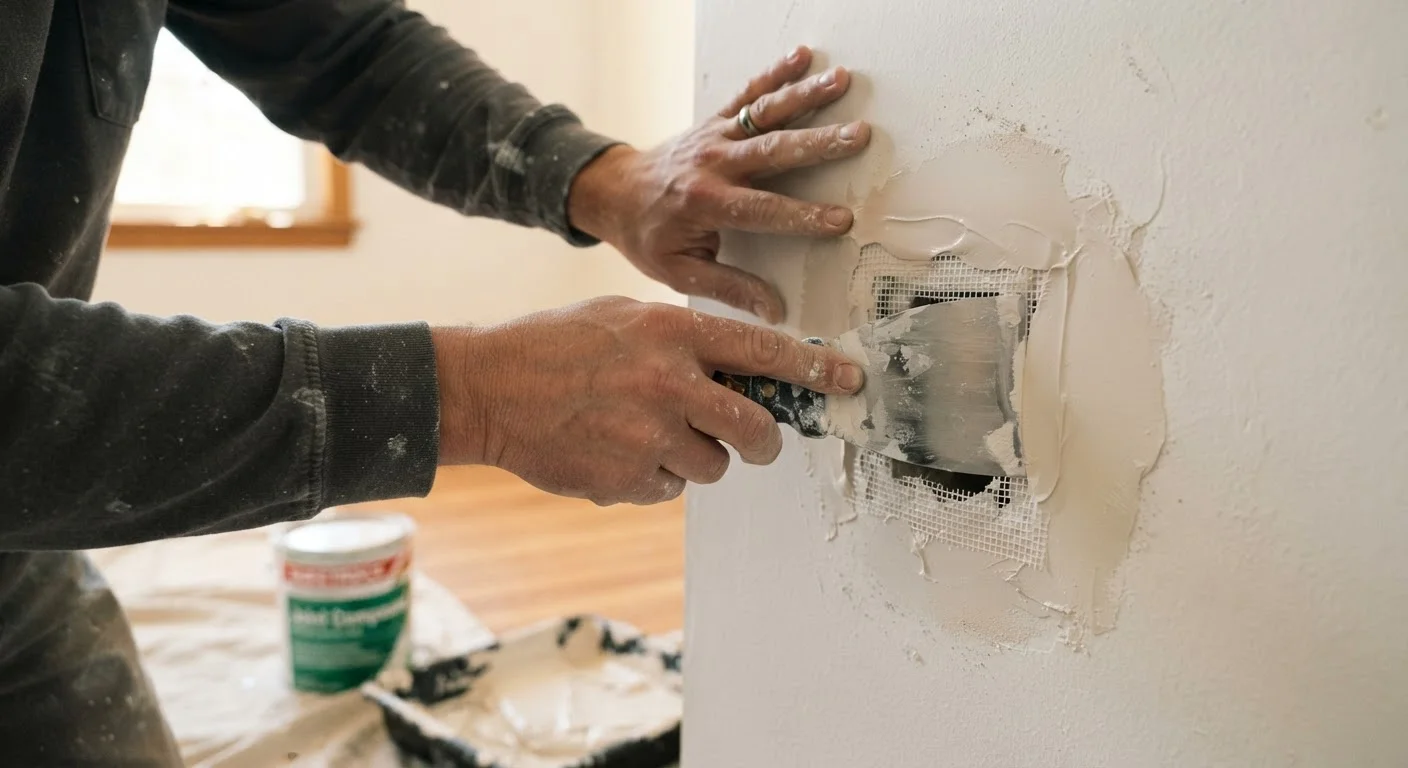
For holes between 1/2 inch and 4 inches, center a self-adhesive mesh patch over the hole and press it firmly to the wall. For holes larger than 4 inches, insert a furring strip or scrap of lumber through the hole, hold it against the inside of the wall, and secure it with drywall screws on either side. Then cut a piece of drywall to fit the opening and screw it to the backer.
Apply the first coat of joint compound
Load your 4-inch putty knife with a modest amount of joint compound and spread it across the patch in smooth, overlapping strokes. For nail holes, one small dab is enough. For mesh patches, press compound firmly into the mesh before smoothing. Feather the edges outward so there is no hard ridge where compound meets bare wall.
Let it dry completely, then sand
Allow the first coat to dry fully. Compound changes from a darker, wet appearance to a consistent white or off-white when dry. This typically takes two to four hours in a room with normal humidity, but high humidity can double that time. Once dry, sand lightly with 120-grit sandpaper, then wipe away the dust with a dry cloth.
Apply second (and third) coats
Apply a second coat with your 6-inch knife, feathering the edges further out than the first coat. The wider blade blends compound into the surrounding wall more gradually, making the final surface harder to detect. Let it dry and sand again. Most repairs need two coats. Deeper patches or mesh repairs may need a third. Each coat should be thinner than the last.
Prime and paint
Apply a coat of drywall primer to the repaired area and let it dry according to the product instructions. Then paint with your touch-up or wall color. If the existing wall color has faded, touch-up paint from the original can will still show as a patch under angled light. In that case, plan to repaint the entire wall panel from corner to corner for the most seamless result.
Getting the finish right
A structurally sound patch that looks wrong under paint is still a failed repair. Two details trip up most first-timers.
Primer: Joint compound is porous. Without a coat of drywall primer, your topcoat paint will absorb unevenly and leave a dull halo called flashing around the patch. Prime the repaired area before painting, even if you are only touching up a small spot.
Sheen: Paint sheen (flat, eggshell, satin, semi-gloss) affects how light reflects off the wall. Patching with the right color but the wrong sheen produces a visible mismatch in any direct light. Check the sheen on your existing paint before buying touch-up paint.
Test your paint sheen before buying
Take a photo of your wall in natural light and bring it to the paint counter along with any existing paint information you have. Paint staff can help you match both color and sheen from the chip. Buying a small sample size first and testing it on an inconspicuous section of the same wall lets you confirm the match before committing to a full touch-up.