

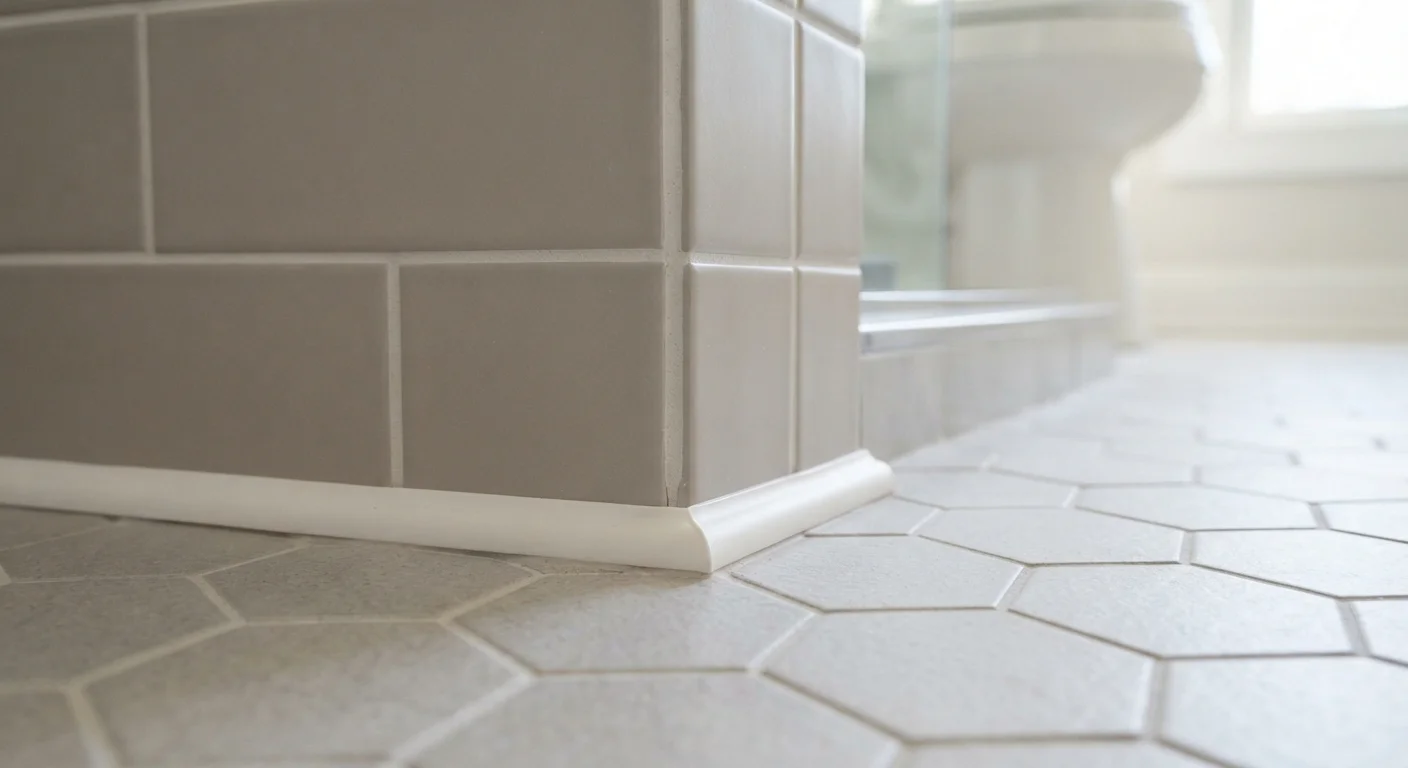
Key Takeaways
Option A
Tile grout
The rigid filler made for tile-to-tile gaps.
Best for: Filling the uniform joints between tiles on flat, stable surfaces where no movement occurs.
Option B
Caulk
The flexible sealant made for change-of-plane joints.
Best for: Sealing corners, transitions, and any joint where two different surfaces or planes meet.
If you are filling the joints between tiles on a floor or wall
Tile grout
Those joints stay on a single plane with minimal movement, which is exactly what rigid grout handles. Caulk in those joints collects dirt and degrades faster.
If you are sealing the joint where a tiled wall meets a bathtub or shower pan
Caulk
That corner sits at a change of plane and experiences movement every time the tub flexes under weight. Grout cracks there within months; caulk moves with it.
If you are finishing an inside corner where two tiled walls meet
Caulk
Two walls can shift slightly relative to each other. A caulk joint absorbs that movement without opening a gap that lets water in.
If you are tiling around a toilet base or floor transition strip
Caulk
These areas see foot traffic vibration and minor floor flex. Caulk keeps the seal intact where grout would eventually crack and lift.
Why the choice matters
Many bathroom repairs trace back to one mistake: grout used in a joint that needed caulk. Water finds those cracked grout lines, works behind the tile, and causes mold or substrate damage that costs far more to fix than the original job. The good news is that the rule for choosing between them is simple once you understand what each material is actually built to do.
Grout is cement-based (or occasionally epoxy-based) and cures hard. It bonds tile edges together on a stable plane and holds up well to foot traffic and cleaning. But rigid materials crack when they are asked to flex, which is why grout fails at joints that move.
Caulk is a flexible sealant, usually silicone or latex-based. It bonds to two surfaces and stays pliable after it cures, so it can stretch and compress slightly as a building shifts with temperature changes, humidity, and normal use. That flexibility is exactly what a change-of-plane joint needs.
The one rule that covers most situations
If two tiles sit on the same continuous flat surface, the joint between them gets grout. If the joint sits at a corner, a transition between surfaces, or a point where two different materials meet, it gets caulk.
Contractors sometimes call this the "change-of-plane" rule. Anywhere the surface direction changes, even by a fraction, movement happens. A tiled floor and a tiled wall are two separate planes. A bathtub deck and a tiled wall are two separate planes. Those intersections need caulk.
| Criterion | Tile grout | Caulk |
|---|---|---|
| Material type | Cement- or epoxy-based, rigid | Silicone or latex, flexible |
| Where it belongs | Between tiles on same flat plane | Corners, transitions, change-of-plane joints |
| Handles movement | No, cracks under flex | Yes, stretches and compresses |
| Water resistance | Good when sealed, can absorb water | Excellent, especially silicone |
| Paintable | Yes | Latex yes, silicone no |
| Typical lifespan in wet areas | 5 to 15 years with sealing | 5 to 10 years before recaulking |
This also applies to expansion joints built into large tile floors. Most tile installation standards call for a caulked expansion joint every 8 to 12 feet in large installations and at every wall perimeter. These joints allow the floor to expand slightly without cracking the tile or the grout. Skipping them and filling the gap with grout is a common mistake in DIY floor tile work.
For more on how caulk fits into the broader toolkit of home sealing, see our guide to caulking, weatherstripping, and draft-proofing.
Picking the right type of caulk for wet areas
Not all caulk performs the same way in a shower or around a tub. Latex (acrylic) caulk is easier to apply and tool, cleans up with water, and can be painted. In low-moisture areas it works fine. In a shower or bathtub surround, 100% silicone caulk or a siliconized latex blend holds up better against constant water exposure and resists mold more effectively over time.
Most home improvement stores carry caulk in colors designed to match common grout shades, which means a properly caulked corner does not have to look like an obvious patch. When you match the caulk color to your grout, the transition is nearly invisible to anyone who is not looking closely.
8-12 ft
Recommended spacing for floor expansion joints
Tile industry installation guidelines generally call for caulked expansion joints at these intervals in large tiled floor installations.
24 hrs
Minimum cure time before water exposure
Most silicone caulk manufacturers specify a full 24-hour cure before the joint should get wet; some products require longer.
One practical note: silicone caulk cannot be painted and is harder to remove cleanly if you ever need to redo the joint. Latex or siliconized latex is a reasonable compromise where painting matters or where you expect to recaulk in a few years. In a shower, the waterproofing benefit of silicone usually outweighs those drawbacks.
Fixing a joint that has already been grouted wrong
If you have a cracked grout line at a tub-wall joint, the fix is straightforward: remove the grout from that joint entirely, clean and dry the surfaces, and replace it with caulk. A grout saw or oscillating multi-tool with a grout removal blade takes the old material out without damaging the tile. The joint needs to be completely dry before new caulk goes in, which usually means waiting 24 hours after cleaning.
Do not caulk over cracked grout. The caulk will not bond properly to the grout and the underlying problem remains. Removing the grout completely and starting fresh is the only repair that holds long-term.
Once the joint is clean and dry, apply the caulk in a steady bead, smooth it with a wet finger or caulk tool, and let it cure fully before the area gets wet. Most silicone caulk needs at least 24 hours to cure; check the product instructions for the specific time.